Domain RegistrationFind the perfect domain for your business or personal site with ease.
 Web HostingAffordable Canadian web hosting, user-friendly and reliable.
 WordPress HostingFast, reliable WordPress hosting in Canada. Perfect for blogs and businesses.
 Email HostingCreate branded email accounts with simple, affordable email hosting.
 Reseller HostingStart your own hosting business with flexible reseller hosting plans.
 Affiliate ProgramJoin our affiliate program and earn commissions by referring customers.
 Windows HostingFast, reliable hosting for your Windows-based sites and applications.
 Cpanel HostingHosting made simple with the user-friendly cPanel dashboard
 WHOIS LookupQuickly find who owns a domain with our easy WHOIS search tool.
 All TLDsSecure the domain you want. Explore Canadian and global extension options.
 .com DomainSecure a globally trusted domain and start building credibility from the very first day.
 VPS HostingReliable VPS hosting crafted for performance and peace of mind.
 Managed VPSNo technical skills? Let us manage your VPS for you.
 Dedicated ServersTake full ownership and control of your private dedicated server.
Last updated on February 6th, 2026 at 12:50 pm
If you’re thinking about starting a WordPress blog in Canada, this is the guide for you. We’ll walk you through the entire process, from choosing a domain name to installing WordPress and picking a theme.
By the end of this guide, you will have everything you need to start sharing your stories with the world.
So let’s get started!
What is WordPress?
WordPress is a content management system (CMS) that enables you to create a website or blog from scratch or to improve an existing website. WordPress is believed to power most of the world’s website and has a large community.
In fact, it is the most popular CMS in the world, used by over 60 million websites, including 30% of the top 10 million sites. WordPress is free and open-source software released under the GPL.
You can use WordPress to create any kind of website or blog here in Canada, including eCommerce stores, membership sites, forums, and more.
And because it is so popular, there’s a huge community of developers creating themes, plugins, and add-ons to help you customize your site exactly the way you want it.
Why WordPress in Canada?
We’ve already hinted at this. There are many reasons why WordPress is so popular.
First, it is easy to use. Even if you’ve never used a website builder in Canada before, you can create a beautiful WordPress site in minutes.
Second, there are thousands of free themes and plugins available for WordPress, which allow you to easily customize your site without having to code anything yourself.
Third, WordPress is constantly being updated with new features and security fixes, so it’s always up-to-date and secure.
And that is why we recommend it to anyone looking for a platform to start a blog or website in Canada.
To start using WordPress in Canada, follow these steps:
Step 1: Choose a Domain Name
First, you need to decide what you want to write about. Do you have a passion for fashion, food, or fitness?
The next step is to pick a website name.
Your domain name is your blog’s address on the internet. It is how people find you and it’s what appears in the URL bar of their browser when they visit your site.
Picking a good domain name is essential to the success of your wordpress blog in Canada. It should be something that is easy to remember, so people can find you easily. It should also be relevant to the topic of your blog.
If you are not sure what domain name to choose, try brainstorming a few ideas. Once you have a few options, do a quick Google search to see if anyone else is using that domain name. If not, it might be a good option for you.
If that sounds like a lot of work, don’t worry. We have already published a guide laying out all the dos and don’ts of domain registration in Canada.
It gives you everything you need to know to register the best domain name for your WordPress blog in Canada.
Once you have decided on the right domain for your blog, the next step is to register it.
Here is a step-by-step guide on how to register a domain in Canada.
Step 2: Find Hosting and WordPress Install
Assuming you’ve already completed Step 1, it is time to move on to finding hosting and installing WordPress. This may seem like a daunting task, but we’ll break it down into easy-to-follow steps.
First, you need to find a web host. This is the company that will provide space on a server for your website, and gives you access to the tools and resources you need to build your site.
Lucky for you, there are many different options available, so take some time to research and find one that best suits your needs. Once you’ve found a few potential hosts, compare their plans and prices to find the best deal.
If you are looking for an affordable WordPress hosting provider in Canada, Truehost Cloud is your best bet.
Our prices start from C$2.49 per month and you get the following:
- 30 GB Disk Space
- Unlimited Bandwidth Transfer
- Unlimited Email Accounts
- Unlimited FTP Accounts
- Unlimited Databases
- 99.999% Uptime
Go here to understand how to get web hosting on Truehost in Canada.
Once you’ve chosen a web host, it is time to install WordPress.
While most hosts will have an easy-to-use installer tool, there are also manual installation instructions available if needed.
To find these, just Google “WordPress installation.”
Either way, here is a quick guide on how to install WordPress in Canada.
First, you need to log into your cPanel account.
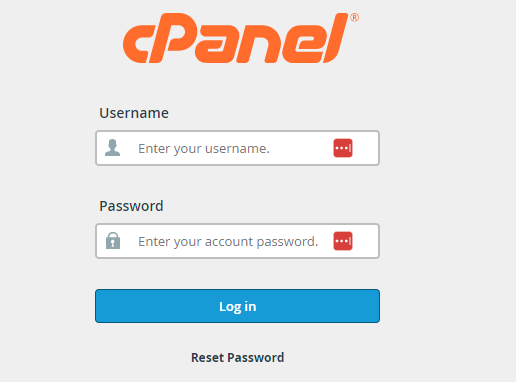
You can get logins from the email you received from Truehost when you ordered hosting.
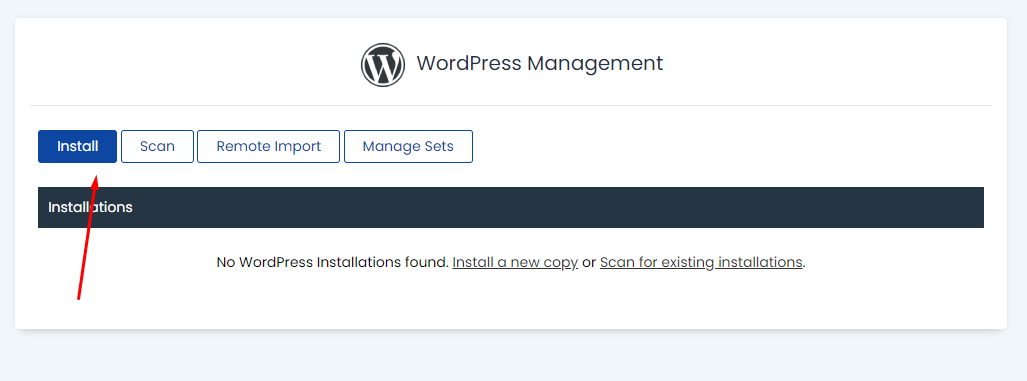
Once logged in, look for an app called Softaculous.

This is a free script 1-click installer we talked about. You can use it to install any script you want on your domain.
Go ahead and click on it. Then click on Install.
The next step is simple.
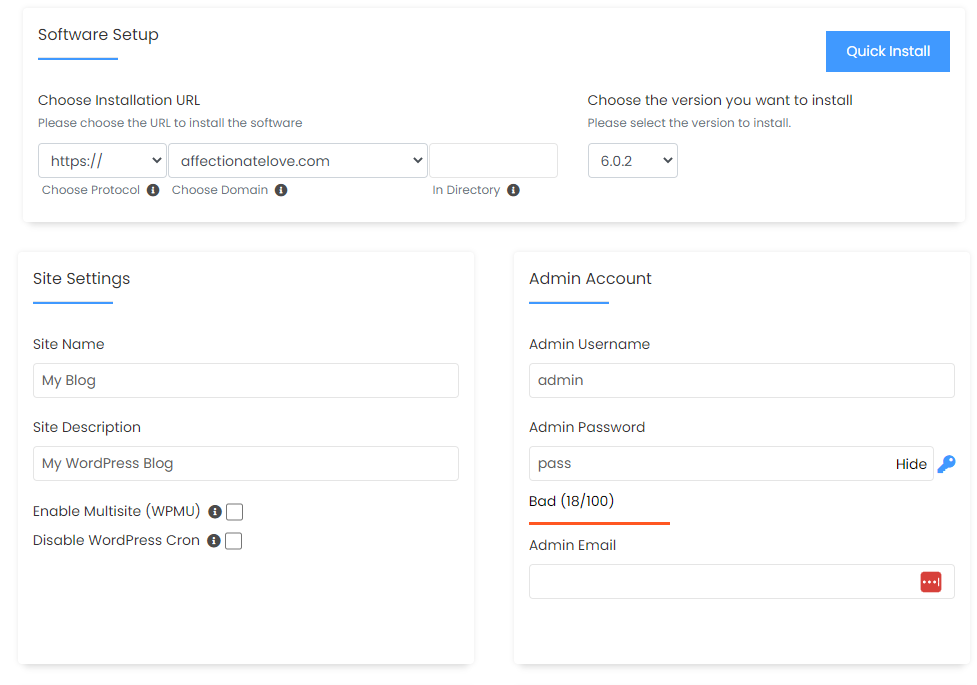
- Select the domain you’d wish to install WP on from the dropdown (if you have more than 1 domains)
- Set the site name and site description
- Choose the admin username (don’t leave it as ‘admin’ it is easy to guess)
- Set a strong admin password. You can even use the generator by clicking on the ‘key’ icon
- Provide an admin email. You can use your Gmail for now and then remember to change it later once you have a custom email.
Leave everything else as is and then scroll down and click on Install.

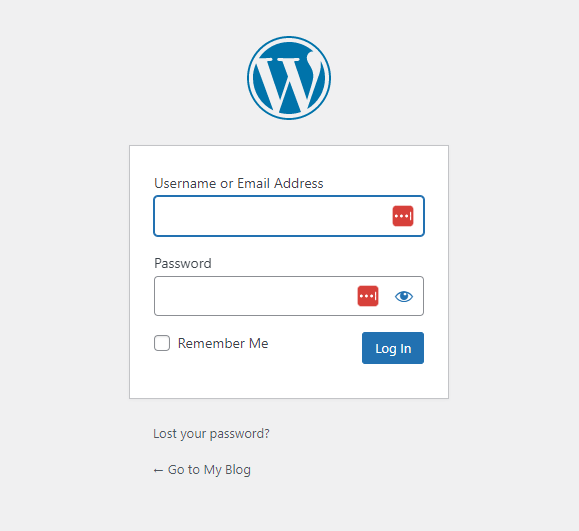
Once installed successfully, go ahead and log into your WordPress admin dashboard.
You can do so by going to yourdomain.ca/wp-admin. And then use the login details (username and pass) you picked earlier.
Once WordPress is installed on the server, you can begin creating pages, uploading media files, and creating posts.
See the following steps to learn how.
Step 3: Pick a Theme
Assuming you’ve completed the first two steps in this guide, it’s time to pick a theme for your WordPress blog in Canada. This may seem like a daunting task, but we’ll make it easy for you.
First, take a look at some of the default themes that come with WordPress. To do this, log into your WordPress dashboard and go to Appearance > Themes.
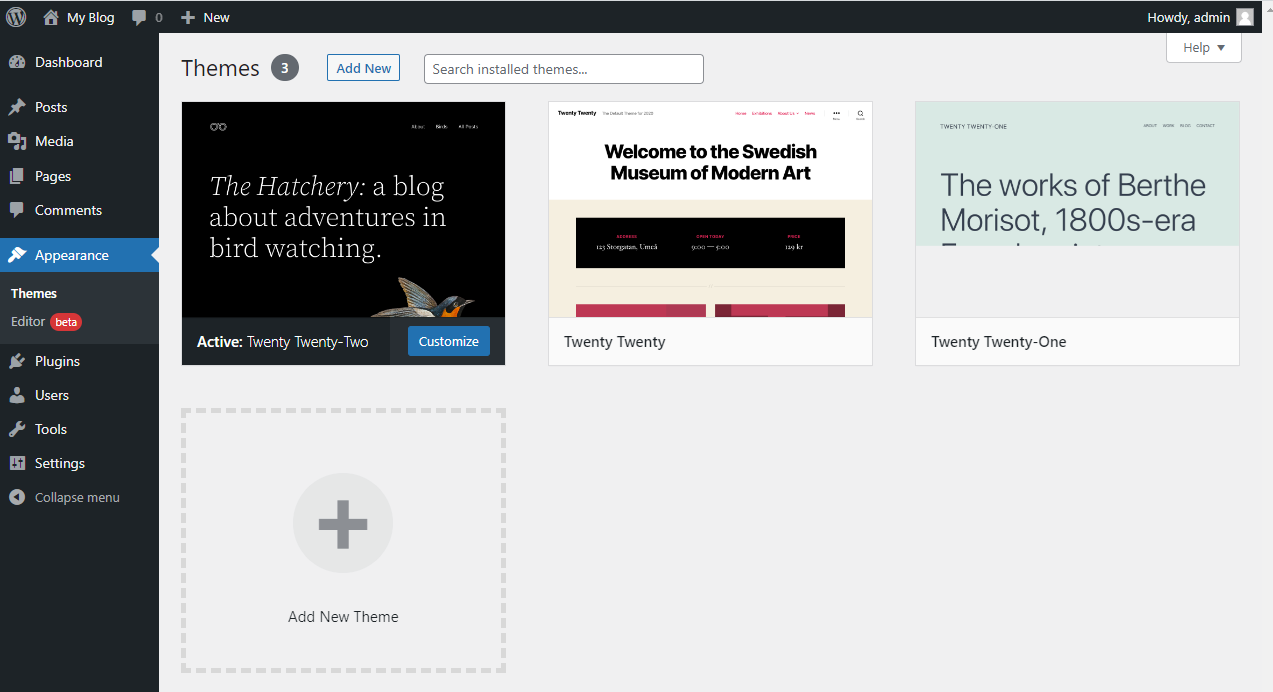
These are all perfectly fine themes that can be used for a variety of blogs. If you see one you like, go ahead and activate it by clicking on the button labeled “Activate.”
If none of the default themes strike your fancy, don’t worry! There are thousands of themes available online, both free and paid.
To find more themes, go to Appearance > Themes > Add New.
Put in a keyword like “blog” or “portfolio” and choose a category.
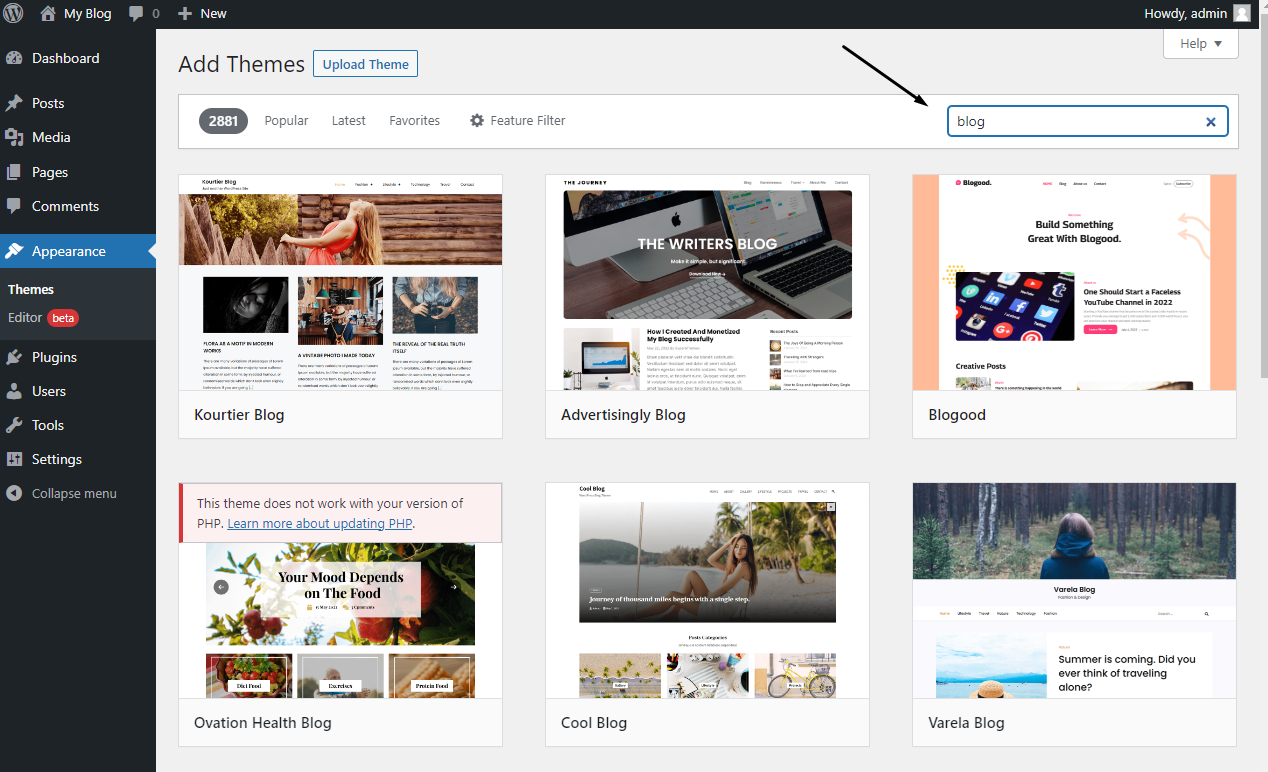
You can browse through the themes and check out the preview images. If you see one you like, go ahead and click on it to take a closer look.
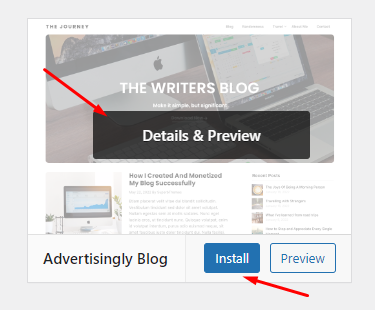
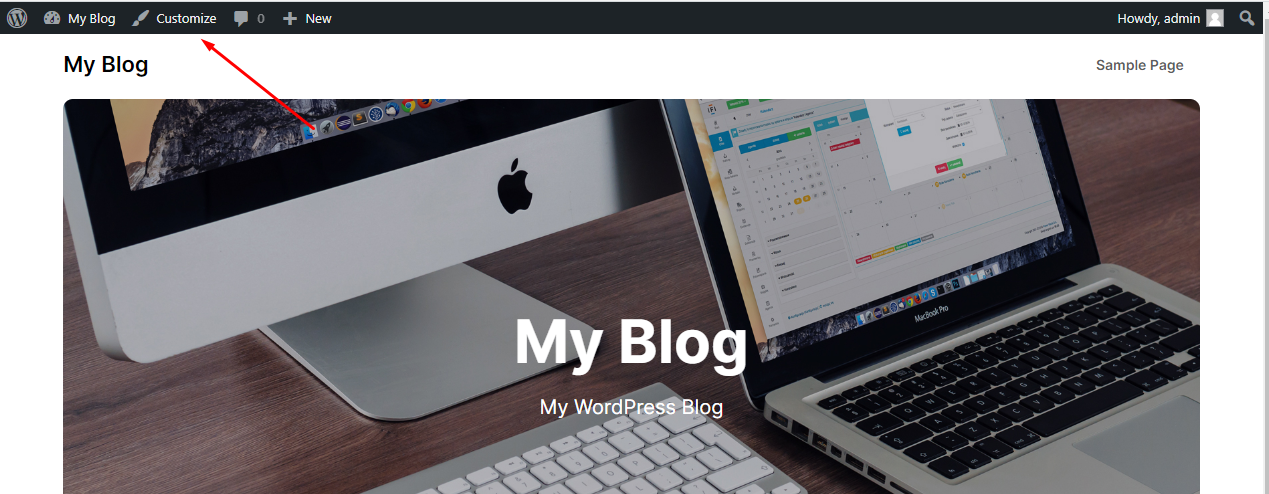
If you like what you see, just click Install and then Activate to add it to your new WordPress blog in Canada.
To further customize your new blog, use the customize feature.
Related:
Step 4: Install Important Plugins
Before your blog is ready, there are a few important plugins that you should install when you first start your WordPress blog in Canada. These plugins will help to optimize your website and make it more user-friendly.
To install, go to dashboard > Plugins > Add New.
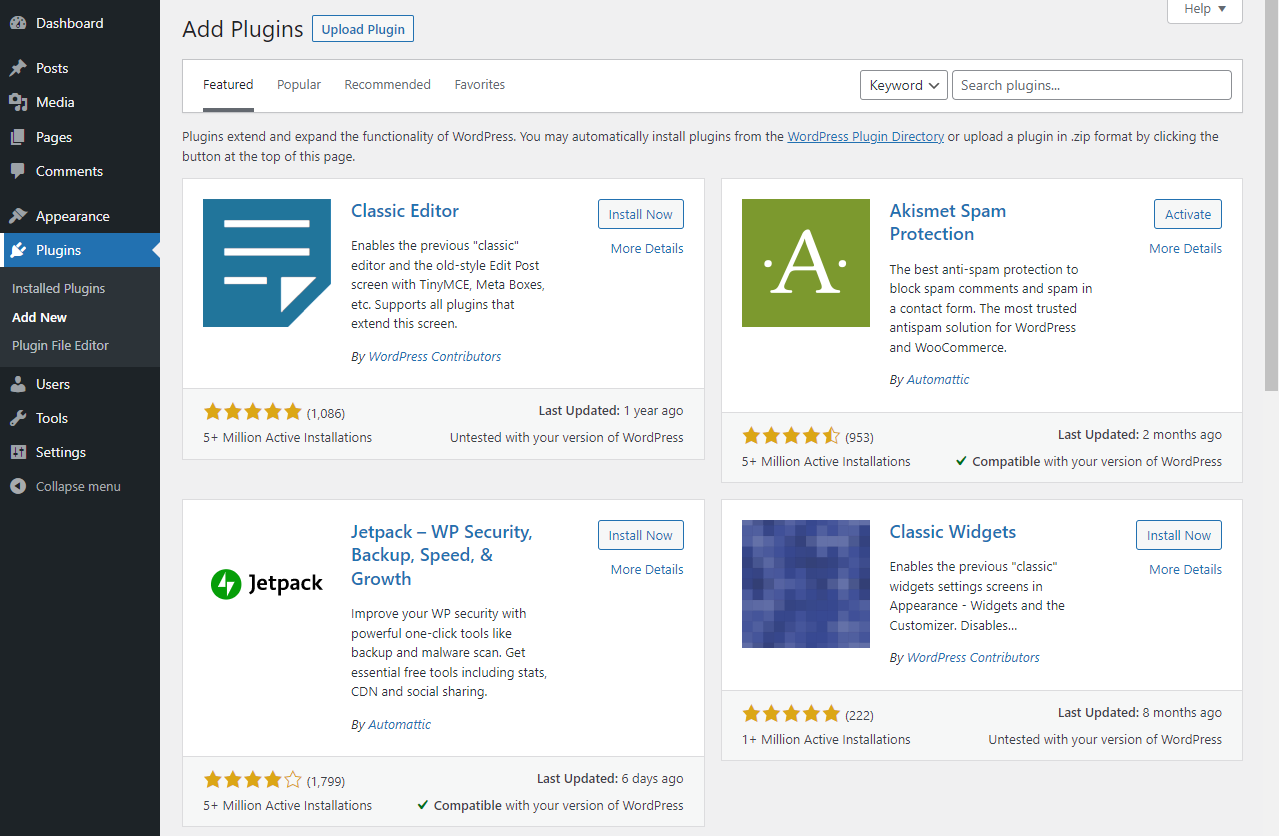
The first plugin that you should install is the Yoast SEO plugin. This plugin will help you to optimize your website for search engines. It will also help you to create better title tags and meta descriptions for your articles.
The other plugin that you should install is the WP Smush plugin. This plugin will help you to compress your images so that they load faster on your website. It can also help you to optimize your website’s code so that it loads faster as well.
We recommend installing the Jetpack plugin. This plugin includes a lot of features, such as social media integration, security, and performance enhancements.
Other must-have plugins include:
You can keep adding others as your website grow.
Step 5: Add Essential Pages
After you have your theme and plugins installed, it’s time to add some essential pages to your blog. These pages will help you get started and set up your blog for success.
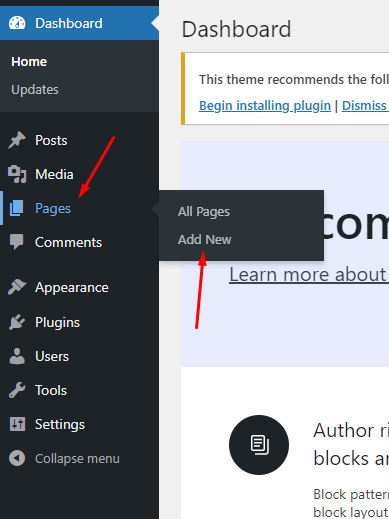
To add a new page on WordPress, go to Dashboard > Pages > Add New.
The first page you’ll want to add is an “About” page. This page should tell your readers who you are and what your blog is about. It’s a good idea to include a photo of yourself on this page so that your readers can see who they’re reading about.
Next, you’ll want to add a “Contact” page. This page should have your contact information so that your readers can get in touch with you if they need to. You can also include a contact form on this page so that people can easily send you messages.
Finally, you’ll want to add a “Policy” page. This page should have the site’s terms of service, as well as any other policies that you have. Some bloggers also like to include advertising and sponsorship policies on this page. Once you’ve added these pages, it’s time to start writing.
Other pages to consider include:
- Disclaimer Page
- Homepage
- Terms of Service Page
- Start Here Page
- Products / Services Page
- Custom 404 Page.
Step 6: Write Your First Blog Post
Assuming you’ve already followed the previous steps in this guide and have installed WordPress onto your chosen hosting platform, you should now be ready to write your first blog post!
Here are a few tips to get you started:
Firstly, take some time to think about what you want to write about. What topics are you passionate about? What do you think others would like to read about? Once you have a general idea, it will be easier to start writing.
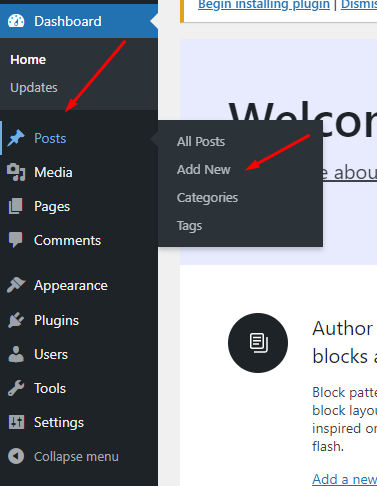
Once you have something to write about, log into your WordPress account and go to the “Posts” section. Click on “Add New” to start writing your post.
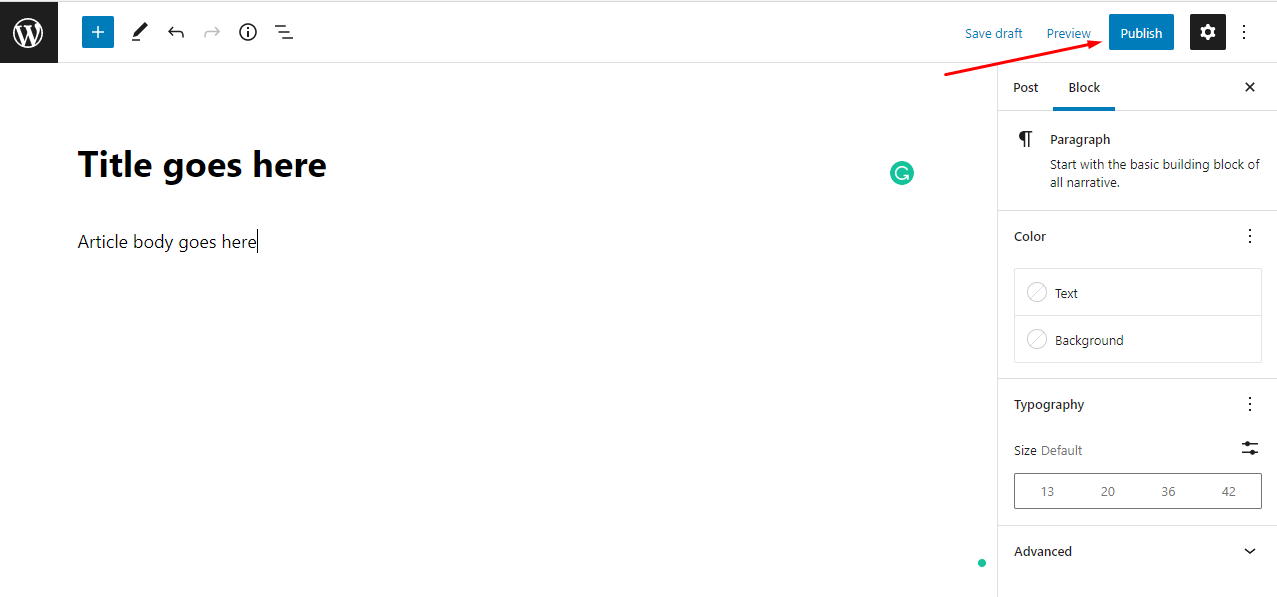
Give your post a title and start writing in the text box below. You can use the various formatting options (bold, italics, etc.) to make your posts look nicer.
If you want to add images or other media to your post, click on the “Add Media” button above the text box. This will open up the media library, where you can upload files from your computer.
Once you are happy with your post, click on the “Publish” button to make it live on your blog.
And that’s it!
You’ve now written your first blog post. Congratulations!
Step 7: Drive Traffic
The second last step to starting your WordPress blog in Canada is to drive traffic to your site.
Luckily, there are a number of ways to do this, but the most effective is through search engine optimization (SEO). SEO is the process of optimizing your site for Google and other search engines so that you appear higher in the search results.
There are a few key things you can do to optimize your site for SEO:
- Use keyword-rich titles and descriptions: This helps Google understand what your site is about and index it accordingly.
- Include keywords in your content: Use relevant keywords throughout your posts and pages so that Google can pick up on them.
- Optimize your images: Include keywords in image file names and ALT text so that Google can index them properly.
- Promote your content: Get the word out about your content through social media, email marketing, and other channels.
Sounds too complicated?
Don’t worry!
The Yoast SEO plugin we installed earlier will help you take care of 90% of the work.
Step 8: Submit Your Site to Search Engines
Assuming you have already completed the previous steps, it’s now time to submit your site to search engines. This will help ensure that your site is properly indexed and displayed in search results.
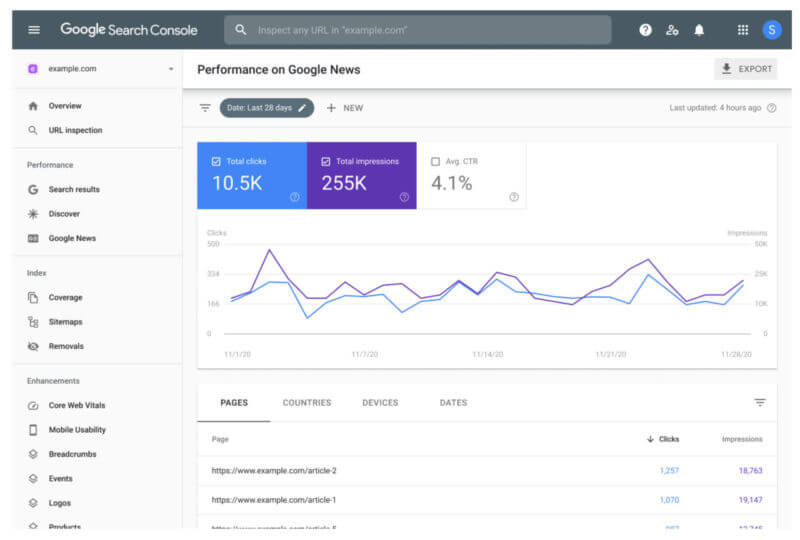
To do this, simply go to Google Search Console and submit your site’s URL.
You can also submit your sitemap to help Google crawl and index your site more effectively.
Next, you need to submit a sitemap to Bing. A sitemap is basically a list of all the pages and posts on your site. This helps Bing understand what content is on your site and how often it’s updated.
You should ALSO submit your website URL to directories like DMOZ and Yahoo!
These directories are like online Yellow Pages for websites. They help people find websites based on category or subject.
Once you’ve done this, be sure to regularly check your search engine rankings to ensure that your site is being properly displayed. If you see any problems, be sure to troubleshoot so that potential customers can easily find and visit your site.
Final Thoughts
As you can see, starting a WordPress blog in Canada is not as difficult as it may seem. By following the steps outlined in this article, you can have your own blog up and running in no time. Just remember to be patient, take your time, and enjoy the process.
Creating a WordPress blog can be a fun and rewarding experience. It can also be a great way to share your thoughts and ideas with the world. Whether you’re looking to start a personal blog or a business blog, the steps in this article will help you get started.
So what are you waiting for? Begin your blog today!
Related:
- 7 Best Platforms to Host Your Website for Free in Canada
- How To Choose the Best Web Hosting in Canada
- 7 Key Features To Look For in a Web Hosting Provider in Canada
- 6 Types of Web Hosting in Canada And Its Advantages
- How to Start a Successful Blog in Canada